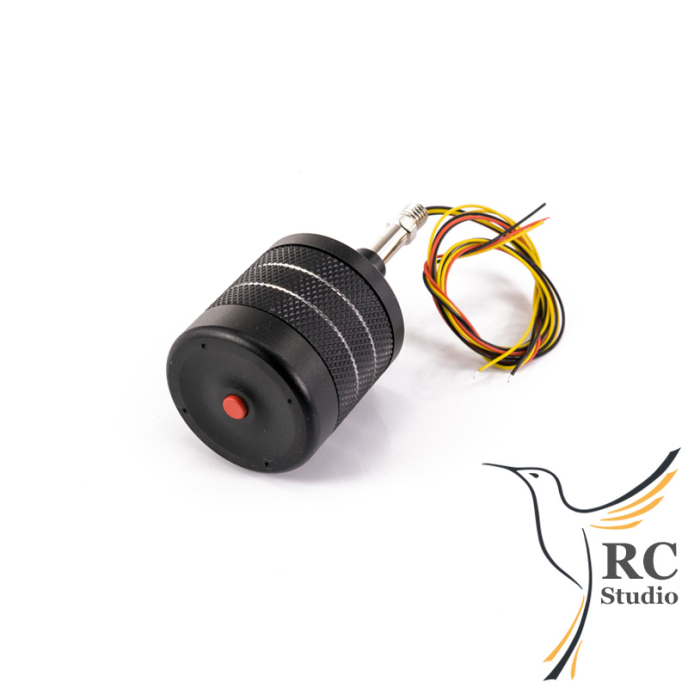
An overview of the FrSky receivers here .
Features:
- RXSR receiver
- Tantalum capacitors can be added
- Camera Control Pads and VTX
- STM32 F405 MCU
- Gyro: ICM20608 32kHz
- Baro
- Integrated PDB and OSD (SPI / DMA)
- 5 UART ports
- 3-6S Lipo
- BEC 5 V 1 A and 8 V 1 A with LC filter
- Telemetry
- integrated current sensor
Specifications:
- Hardware: STM32 CPU F405
- channels: 16 (CH8 is RSSI) FPort to UART2
- Dimensions: 36mm x 36mm x 13mm (30.5mm holes)
- Weight: 11.2g
- antennas: rod 80 mm
- antennas connected by connectors: yes, Ipex4
- S.Port: yes
- OSD: yes
- SBUS: no
- analog port: no
- pin voltage measurement: yes
- Voltage: 3-6S lipo
- Power consumption: 200 mA @ 3 V
- Range: >1.5km
- updatable firmware
- compatibility: D16 LBT mode
Software
The factory board includes BetaFlight software for Omnibus F4. Receiver configuration:
- set UART2 to SerialRX in ports
- in configuration - receiver mode Serial-based receiver and FrSky Fport, disable RSSI_ADC Analog RSSI input
The supplied version of betaflight software allows PID tuning via radio. The radio with OpenTX min version 2.2 is loaded with the LUA script FC.lua and through it you can change the settings.
FPort - If you lose your settings, such as after an update, you can use the following reset commands:
resource SERIAL TX 11 C10
resource SERIAL RX 11 C09
SOFTSERIAL feature
feature TELEMETRY
serial 0 0 115200 57600 0 115200
serial 30 64 115200 57600 0 115200
set serialrx provider = FPORT
set serialrx inverted = OFF
set serialrx halfduplex = ON
Pairing
Put the transmitter in pairing mode. Press and hold the pairing button, bring power, wait 2 to 4 s. Successful pairing is accompanied by green LED and red flashes. Disconnect the power supply and release the button. If this fails, try the process again, but increase the space between the transmitter and the receiver to 1-2 m. LED Indication
LED | Meaning |
red flashes slowly | is not a signal |
green | connected, paired, data transfer |
green on, red fast flashing | pairing |
green on, red on | waiting for pairing |
Failsafe
A very important feature of the X-Series receivers is the failsafe mode, which allows the model to be set to the desired mode in the event of a power failure.
Receiver Setup
Pair the receiver. Set the channels to the desired position, briefly press the F / S button (for less than 1 second). The green LED flashes twice to confirm. To deactivate the filesafe function, pair the receiver again.
To set the pulses to be lost when signal is lost - turn off the transmitter and start the receiver, briefly press the F / S button (for less than 1 second).
Transmitter settings
In addition to several failsafe modes, Taranis can also be set to completely individual filesafe via the transmitter - custom . This is then automatically sent to the receiver in 9 second cycles.
If failsafe is not set, the receiver holds the last channel position before signal loss. You can reset your failsafe factory settings by pairing your receiver.
On all items we offer warranry 24 months.
Spare parts and battries capacity 6 months.
We provide warranty and post warranty services.